Honest to goodness, I’m not much of a craft person. I usually feel like by the time I buy all the stuff and take the time to make whatever it is I’m making, I could’ve just bought it at the store for the same amount. But I saw this wreath on Pinterest and mama had to have! It turned out to be a fairly easy thing to make and worked perfectly for my front door.
What you need:
SNAKES!!! I got 48 plastic snakes for $8 here, then purchased three more in different sizes and shapes from Michaels, just to keep it varied.
A grapevine wreath, also purchased from Michaels for about $8. They have tons of different sizes you can choose from. I liked this one because it was flat, and since I have a storm door, I knew I’d be able to close the door over it.
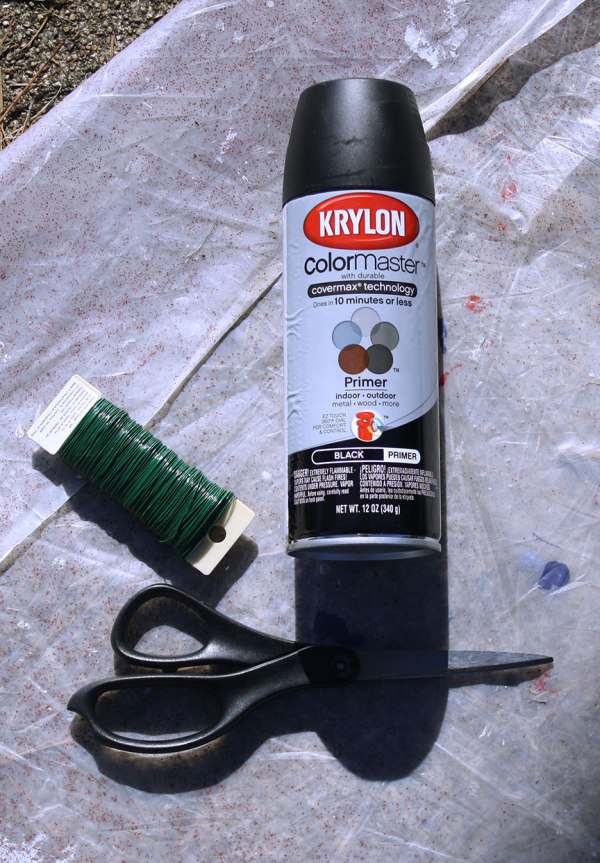
A can of black spray paint for $5 and some floral wire for $2, also both purchased at Michaels. Plus scissors and a tarp, of course.
Step 1: Spray paint your wreath and snakes. Allow to dry, flip ’em over and spray paint the back.
Step 2: When everything is dry, arrange your snakes on the wreath. There’s no rhyme or reason to it, just set them all over. The larger snakes, I wrapped around the wreath. Then cut a piece of floral wire and start twisting it around the wreath and parts of each snake. I put about two pieces of wire around each snake – one at each end, and when I could, I wrapped the wire around two snakes at once.
Step 2.5: After I wrapped each wire bit, I tucked the twisted part under to hide it. Don’t worry about the wire showing because:
Step 3: Once all the snakes were wired securely to the wreath (I picked it up and kinda shook it a little to make sure none came off), I gave it one last spray with the spray paint – focusing especially on the green wire parts.
 Step 4: When the second coat of paint was try, it was time to hang. I have a metal door, so I can’t nail in a wreath. Instead, I found a little bit of black grosgrain ribbon left over from my bridesmaids’ gift boxes, tied it around the top of the wreath and just taped it across the top of the door. That easy!
And there you have it! A super simple and NOT garish Halloween wreath for about $25.


Job well done, my friend.
Finding this a little late, but better late then never. Did you use all of the 48 snakes on your wreath? I want to make a couple wreaths so I am trying to figure out how many snakes I need to buy.